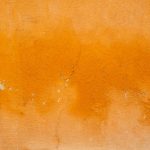
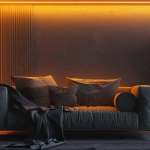

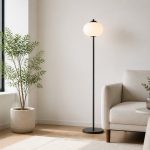
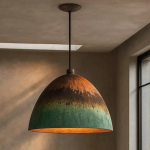

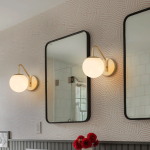
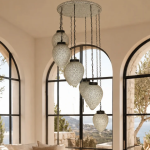
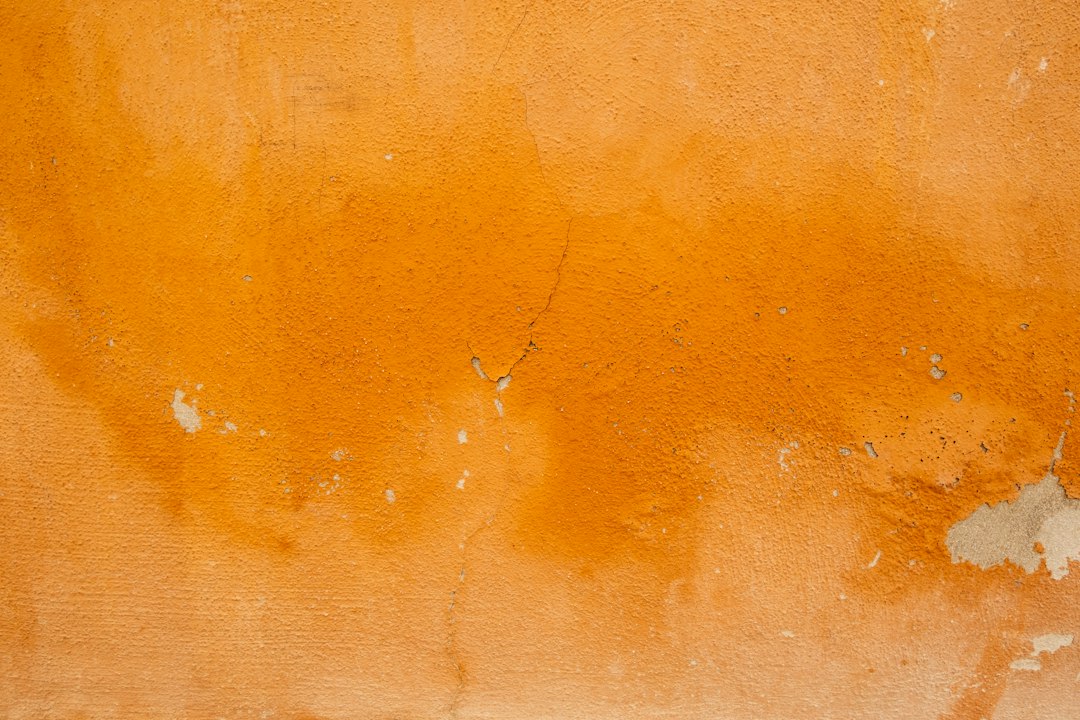
Limewash walls, with their earthy, matte finish and subtle variations, offer a unique aesthetic that many homeowners adore. But to truly bring out their character and enhance their visual depth, you need to understand the magic of grazing light. In short, grazing light, which hits a surface at a very shallow angle, is the absolute best way to highlight the beautiful texture of your limewash walls, making them feel more dynamic and alive. Without it, that texture can often disappear, making the wall look flatter than it actually is.
Before we dive into lighting, let’s briefly touch on what makes limewash so special. Unlike paint, limewash isn’t just a color; it’s a living finish. It’s made from slaked lime, water, and natural pigments, and it works by penetrating the surface rather than sitting on top. This creates a soft, chalky, and often slightly mottled appearance with subtle color variations and a distinct, inherent texture.
The Nuances of Limewash
The texture in limewash isn’t typically rough or abrasive like stucco. Instead, it’s a more delicate, almost velvety undulation that reflects light in a particular way. This can range from very subtle, almost imperceptible shifts in plane to more pronounced, artisanal brushstrokes depending on how it’s applied and the specific product used.
Why Texture Matters
This subtle texture is key to limewash’s appeal. It adds depth, warmth, and a sense of history to a space. It’s what gives limewash walls that coveted organic, lived-in feel. When light interacts with these micro-undulations, it creates a play of shadows and highlights that brings the wall to life. Without proper lighting, this characteristic texture can be easily lost, making your carefully chosen limewash finish appear dull or flat, much like a regular painted wall.
The Power of Grazing Light
Grazing light is simply light that shines across a surface at a very acute angle. Think of how the late afternoon sun dramatically highlights every bump and crevice on a stucco wall, or how a flashlight held close to a wall reveals every imperfection. That’s grazing light in action.
How Grazing Light Works
When light hits a perfectly smooth surface head-on, it reflects back uniformly. There’s no texture to cast shadows. But when that light hits a textured surface at a shallow angle, even the smallest irregularities cast tiny shadows. These shadows, combined with the illuminated peaks, create visual contrast that emphasizes the surface’s topography. For limewash, this means those subtle brushstrokes and mineral variations suddenly become much more apparent and beautiful.
Benefits for Limewash
- Highlights Texture: This is the primary benefit. Grazing light makes the inherent texture of your limewash walls pop, revealing the craftsmanship and the unique characteristics of the finish.
- Adds Depth and Dimension: By creating a play of light and shadow, grazing light gives the wall a three-dimensional quality, making the room feel more interesting and less flat.
- Enhances Character: It emphasizes the organic, artisanal nature of limewash, reinforcing its rustic charm.
- Creates Visual Interest: Even in a minimalist space, a well-lit limewash wall can become a focal point, drawing the eye and adding visual warmth.
Choosing the Right Fixtures for Grazing Light
Not all light fixtures are created equal when it comes to grazing light. You need fixtures that can be positioned close to the wall and direct light downwards or upwards with a relatively narrow beam spread.
Wall-Mounted Uplighters and Downlighters
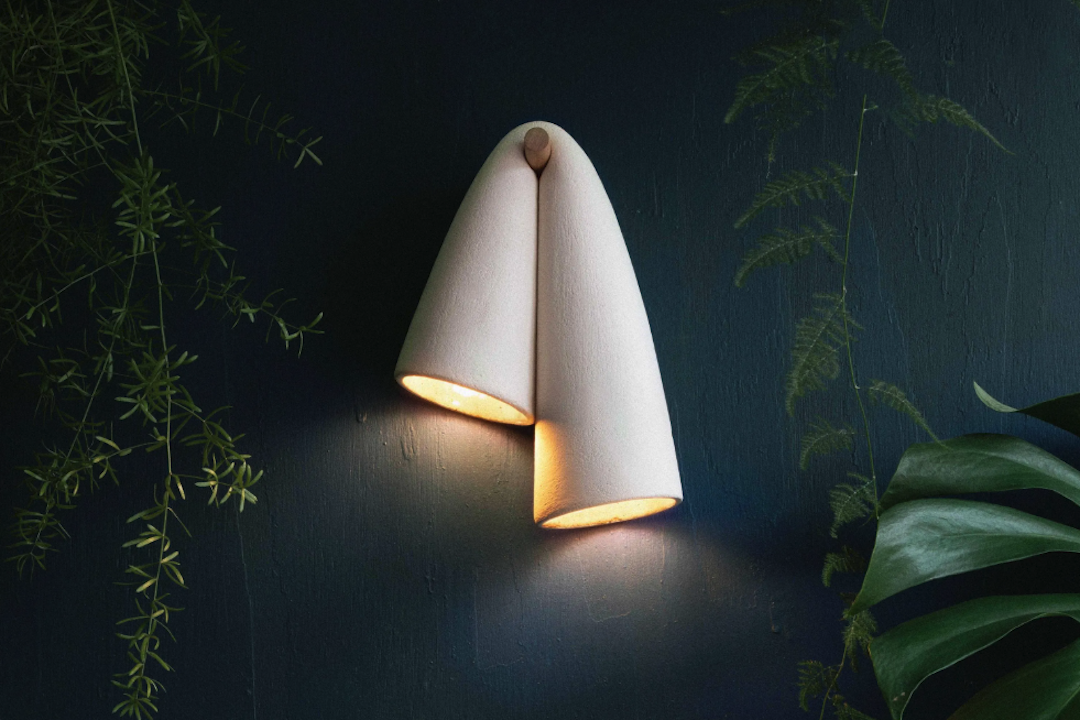
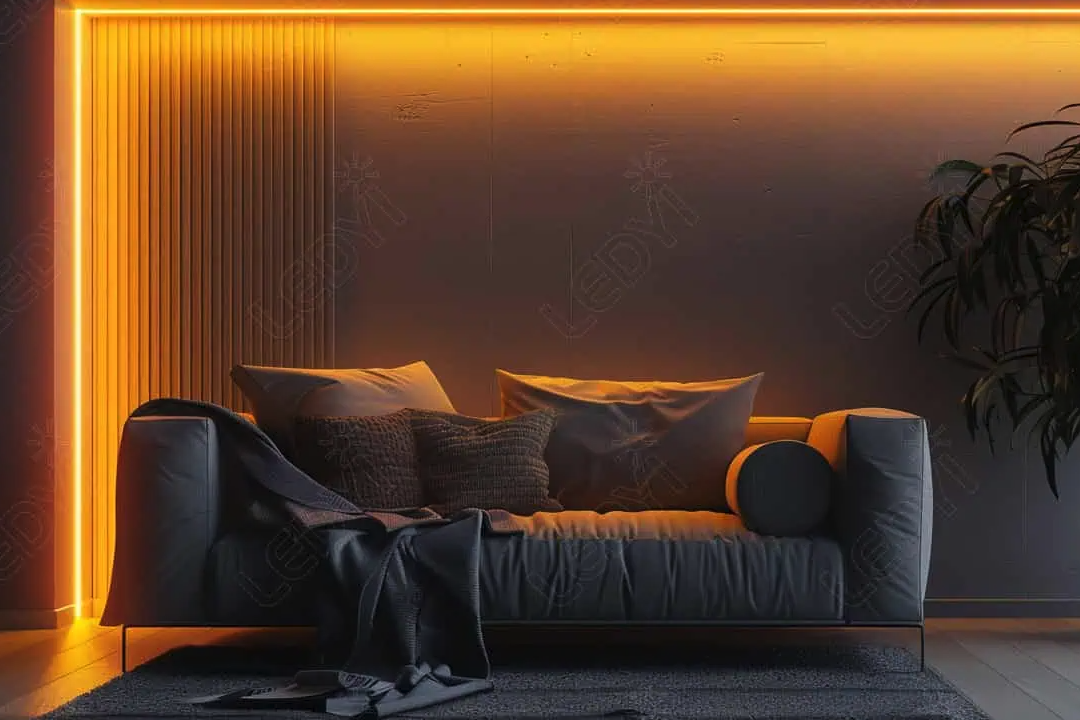
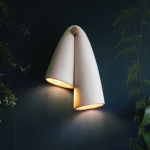
These are perhaps the most straightforward options. Fixtures that are mounted directly onto the wall, shining either upwards towards the ceiling or downwards towards the floor, are excellent for creating a grazing effect.
- Placement is Key: For optimal grazing, these should be mounted relatively close to the wall – usually within 6-12 inches, depending on the fixture’s beam angle and desired effect.
- Beam Spread: Look for fixtures with a narrower beam spread (e.g., 20-40 degrees) rather than a wide floodlight, as a focused beam will create more defined shadows.
- Adjustable Heads: Some wall-mounted fixtures have adjustable heads, allowing you to fine-tune the angle of the light, which is incredibly useful for experimenting with the grazing effect.
Recessed Wall Washers
These fixtures are built into the ceiling but are specifically designed to “wash” a wall with light. While often used for even illumination, certain types can create a grazing effect if positioned correctly.
- Closer to the Wall: To achieve grazing, recessed wall washers need to be installed closer to the wall than standard recessed lights. The general rule of thumb is to place them about 1-2 feet away from the wall.
- Asymmetrical Optics: Look for fixtures with asymmetrical optics or specific wall-wash trims that direct light unevenly, with more intensity towards the top of the wall and a softer fall-off towards the bottom, which helps accentuate texture.
Picture Lights and Accent Lights
While primarily used for artwork, these can also be repurposed for grazing effects on limewash walls, particularly if you have a smaller section you want to highlight.
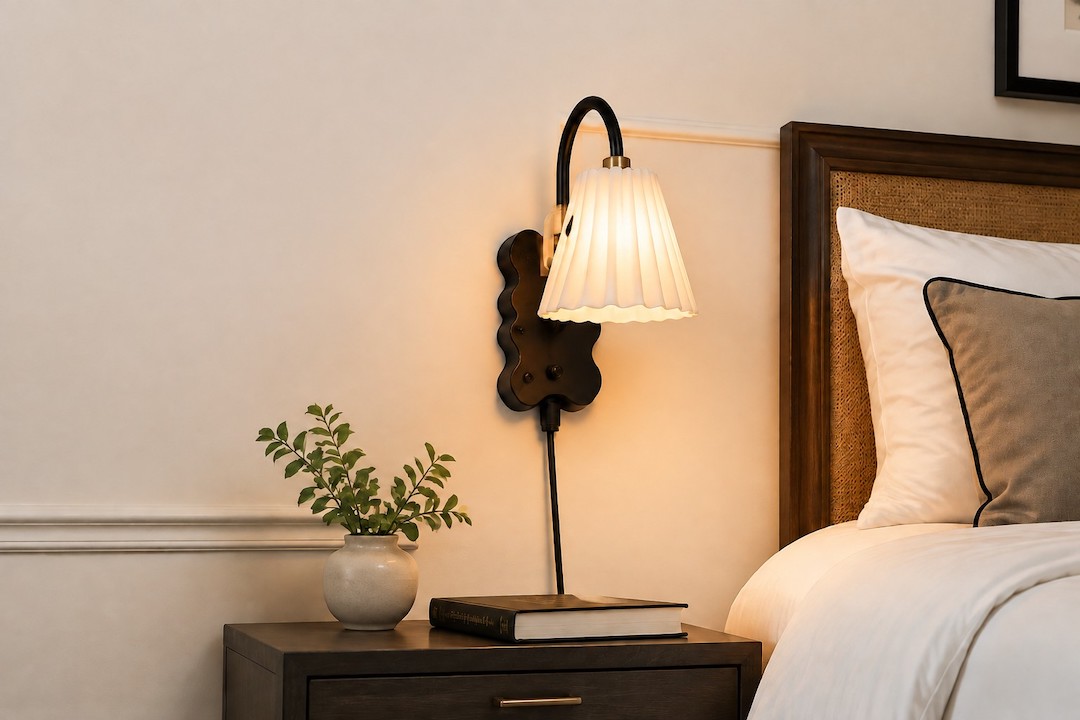
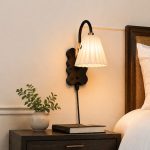
- Picture Lights: Mounted above a section of the wall, they can provide a downward grazing light, especially if they have a long arm that positions the light source close to the wall.
- Small Accent Spotlights: These can be strategically placed on shelves, furniture, or even floor-mounted to cast an upward grazing light onto a specific area.
Floor-Standing Uplights
These are versatile and offer flexibility, as they don’t require permanent installation.
- Strategic Positioning: Place them close to the base of the wall, aiming upwards. You can experiment with the distance and angle to find the most dramatic effect.
- Great for Experimentation: If you’re unsure about permanent fixtures, floor uplights are a fantastic way to test the impact of grazing light in different areas of your room.
Positioning and Placement Considerations
Achieving the perfect grazing effect is more art than science, and it often involves a bit of trial and error. The distance of the light from the wall, its angle, and the intensity all play a role.
Distance from the Wall
- Closer for More Drama: The closer the light source is to the wall, the more pronounced and dramatic the shadows will be. This will make the texture appear much more prominent.
- Further for Softer Effect: As you move the light source further away, the shadows become softer and less defined, resulting in a more subtle textural enhancement.
- Experimentation: Start close (6-12 inches) and gradually move the fixture back to see how the effect changes.
Angle of Incidence
- Shallow Angle is Key: The more acute the angle at which the light hits the wall, the better the grazing effect. Light hitting the wall head-on will minimize texture, while light almost parallel to the wall will maximize it.
- Upward vs. Downward: Both can work. Upward grazing light often feels more dramatic and emphasizes texture from the bottom up, creating a sense of height. Downward grazing can feel a bit more natural, mimicking sunlight.
Spacing Between Fixtures
- Even Wash: If you want to highlight a large section of a wall, you’ll need multiple fixtures spaced appropriately.
- Avoid Hot Spots: The goal is to create a relatively even graze without obvious “hot spots” of light directly under each fixture. Overlapping the light beams slightly can help achieve this. The ideal spacing will depend on the fixture’s beam angle and intensity.
- Consider Corners: Corners are tricky. You might need to adjust the angle of the fixtures as they approach a corner to ensure continuous illumination.
Avoiding Glare
- Shield the Source: Grazing lights are often close to the wall, which means the light source itself can sometimes be visible and cause glare. Choose fixtures with good shielding or baffles, or position them so they are out of the direct line of sight.
- Dimmer Switches: Always install dimmer switches for grazing lights. This not only allows you to adjust the intensity but also helps manage potential glare and allows you to set the mood.
The Role of Light Temperature and Intensity
Beyond just the physical placement of lights, the quality of the light itself—its color temperature and brightness—also significantly impacts how your limewash walls appear.
Color Temperature (Kelvin)
The color temperature of light is measured in Kelvin (K) and describes how warm or cool the light appears.
- Warm Light (2700K – 3000K): This is typically a soft, yellowish light, similar to incandescent bulbs. It tends to enhance the natural, earthy tones of limewash and contributes to a cozy, inviting atmosphere. This is often the preferred choice for residential limewash applications as it complements the inherent warmth of the material.
- Neutral White Light (3500K – 4000K): This light is closer to natural daylight and can make colors appear truer. While it can still highlight texture, it might make the limewash appear slightly cooler than warm light. Use this if you want a crisper, more contemporary feel.
- Cool White Light (4500K+): This has a bluish tint and is generally not recommended for limewash walls in a residential setting, as it can make the finish look stark and artificial, diminishing its inherent warmth.
Light Intensity (Lumens and Dimming)
The brightness of your grazing lights is crucial. Too bright, and you wash out the subtle shadows; too dim, and the texture won’t be revealed.
- Moderate Intensity: You don’t need extremely powerful lights for grazing. The magic comes from the angle and the creation of shadows, not sheer brightness. Moderate lumen output is usually sufficient.
- Dimmer Switches are Essential: This cannot be stressed enough. Dimmers give you complete control over the intensity. You can dial it up for a more dramatic effect or lower it for a subtle glow. They allow you to adapt the lighting to different times of day or different moods.
- Balance with Ambient Light: Consider how your grazing lights will interact with the room’s overall ambient lighting. You want them to enhance the texture, not overpower the space.
CRI (Color Rendering Index)
While less critical than color temperature for texture, CRI is worth a quick mention. CRI measures how accurately a light source renders colors compared to natural light. For limewash, a higher CRI (90+) will ensure that the subtle pigment variations in your limewash are faithfully reproduced, rather than appearing dull or off-color.
Practical Tips and Final Considerations
Beyond the technical aspects, a few practical pointers can make a big difference in how you approach lighting your limewash walls.
Test Before Committing
- Temporary Solutions: Before installing any permanent fixtures, use temporary lighting solutions like portable uplights or even a powerful flashlight to experiment with different placements and angles. This allows you to see how the light interacts with your specific limewash finish in your unique space.
- Observe at Different Times: Pay attention to how the grazing light looks at various times of day, under different ambient lighting conditions, and with varying dimmer settings.
Consider the Room’s Purpose
- Living Rooms/Bedrooms: Softer, warmer grazing light with dimmer capabilities is often preferred for creating a cozy atmosphere.
- Hallways/Entryways: More dramatic grazing light can create an impactful first impression and guide the eye.
- Art Display Areas: If you have art on a limewash wall, you might need to adjust grazing light to avoid competing with or casting shadows on the artwork itself.
Maintenance and Cleaning
- Dust Accumulation: Grazing lights can sometimes highlight dust or cobwebs that might otherwise go unnoticed. Regular, gentle cleaning of both the walls and the fixtures will be necessary.
- Bulb Replacement: Choose long-lasting LED bulbs for grazing fixtures, as they often require specific types of bulbs that can be tricky to replace if mounted high or in tight spots.
Professional Consultation
- Lighting Designers: For complex projects or if you’re unsure, consider consulting a professional lighting designer. They can help you select the right fixtures, determine optimal placement, and create a comprehensive lighting plan that integrates with your overall interior design.
- Electricians: Always use a qualified electrician for fixture installation, especially for hardwired options.
By understanding the nature of limewash and harnessing the specific qualities of grazing light, you can transform your walls from merely decorative surfaces into captivating features that add depth, character, and an undeniable sense of artistry to your home. It’s a subtle yet powerful design choice that truly brings out the best in this unique finish.